A beginners guide to setting up Classe365 Student Information System.
Our product management team with assistance from customer enablement team have worked really hard to make the process to get institutions up and running easy, fast and swift. Here is the guide to get your institution up and running literally in 7 minutes. Yes literally !!
Step 1: Update Institution Details
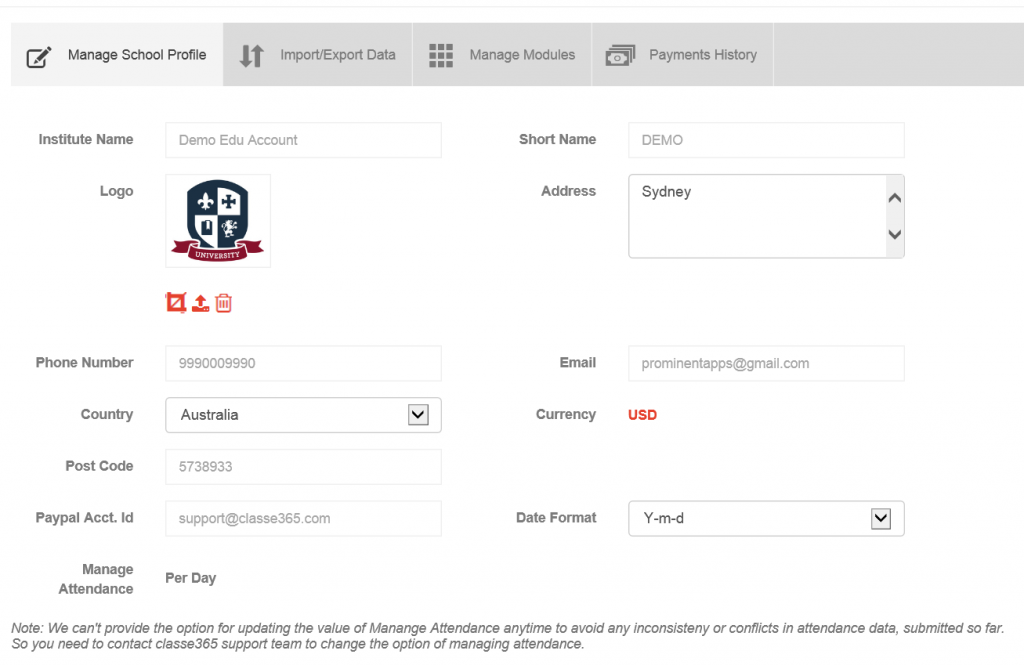
The first step is to make sure that your institution details are all accurate. You can update these details by going to Settings ->Manage School/institution Profile.
Note: Try to be as accurate as possible, as these details are the one that are visible to students, staff and parent.

Step 2: Update List of Subjects, Class & Section
It is important that you perform this step before uploading students. This step ensures that you have Class (also referred by many institutions as Grades or Batch), Sections and Subjects set-up before you update students. You can bulk upload or manually set-up subjects, class and section. Lets look at these 2 options:
Option 1:To individually set-up Class, Section or Subjects go to Modules -> Academics

From here you can individually Add Class, Add Section or Add Subjects.
Option 2: To Bulk Upload, go to Settings ->Import/Export Data-> Download Sample File. You can also download the template from here (Download CSV Template)

After downloading, populate the sample data with real data from your education institution. From just one file you can upload class, sections (if any) and subjects taught in every class and section.

Step 3: Upload Students
If you thinking uploading or migrating all students will take ages to complete. Wait till you see how easy it is using CSV file upload.
There are two options to upload student data:
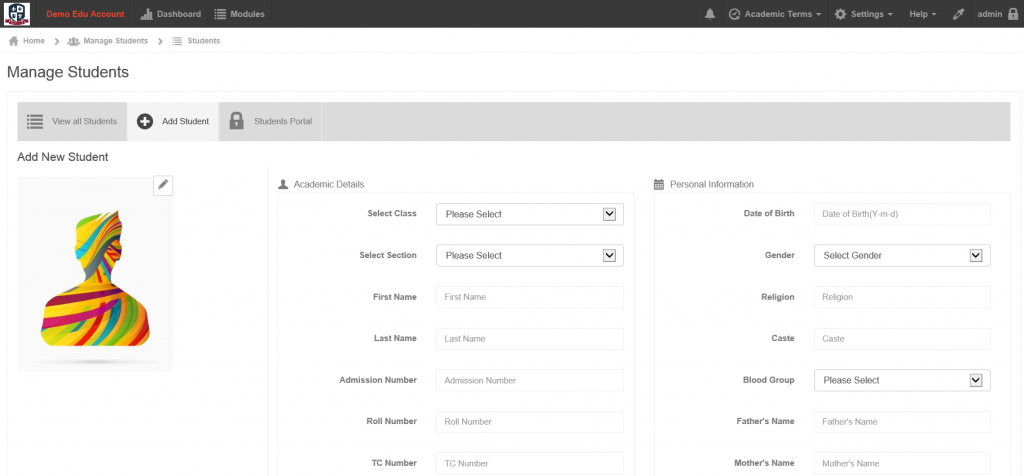
Option 1: To individually upload student data go to Modules -> Manage Students-> Add Students

From here, you will be able to add one student at a time.
Options 2: Add students in bulk using CSV or Excel file. To do this go to Settings -> Import/Export Data -> students->Download sample data. You can also download the file from here Download CSV Template

After downloading, populate the sample date with real date of students. From just one file you can upload the entire students in your institution.

When you have all the data ready, it will just take a few minutes to upload. Fields marked in Green Header are mandatory.
Step 4: Upload Teachers and Non-Academic Staff
Similar to uploading student data, uploading teachers and non-academic staff are easy. There are two options to upload academic and non-academic staff information:
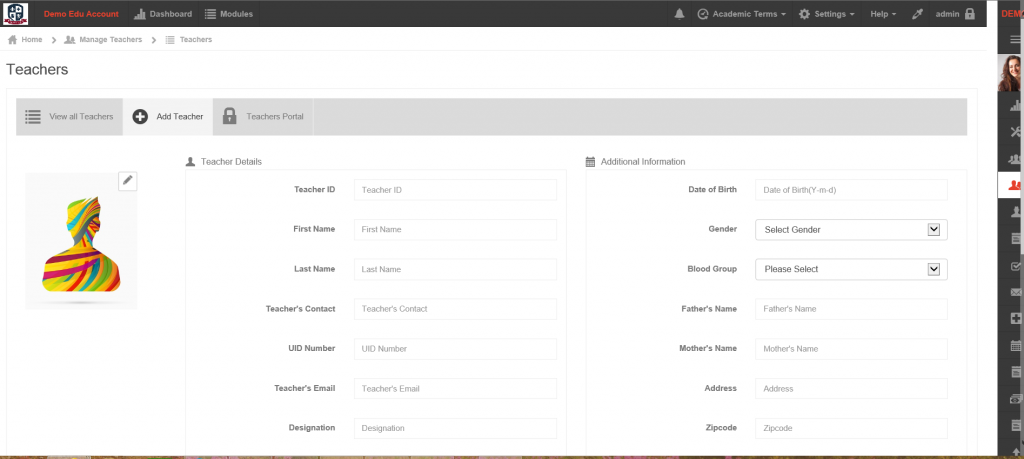
Option 1: To individually upload student data go to Modules -> Manage Teachers & Staff-> Add Teacher or Staff

From here, you will be able to add teachers or staff one at a time.
Options 2: Add teachers or staff in bulk by using CSV or excel file. To do this go to Settings -> Import/Export Data –> teachers/staff ->Download Sample Data. You can also download the file from here Download CSV Template
After downloading, populate the sample date with real date of teachers and staff.
From just one file you can upload the entire staff in minutes. Fields marked in Green Header are mandatory.
That’s it. With a little bit of planning and getting all the data ready in Excel or CSV format, the process literally takes 5 to 7 minutes to complete.


